Adding an Obituary
The Cases portion of the Growth Engine is focused on simplicity, social media and email integration. Our goal is to make it as simple as possible for your staff to add/edit existing cases to unlock the the unique ways the Growth Engine helps you connect with your community. Simply follow the steps below to add, or edit, a case.
- Go to https://funeralinnovations.com/users/login
- Login with your username and password
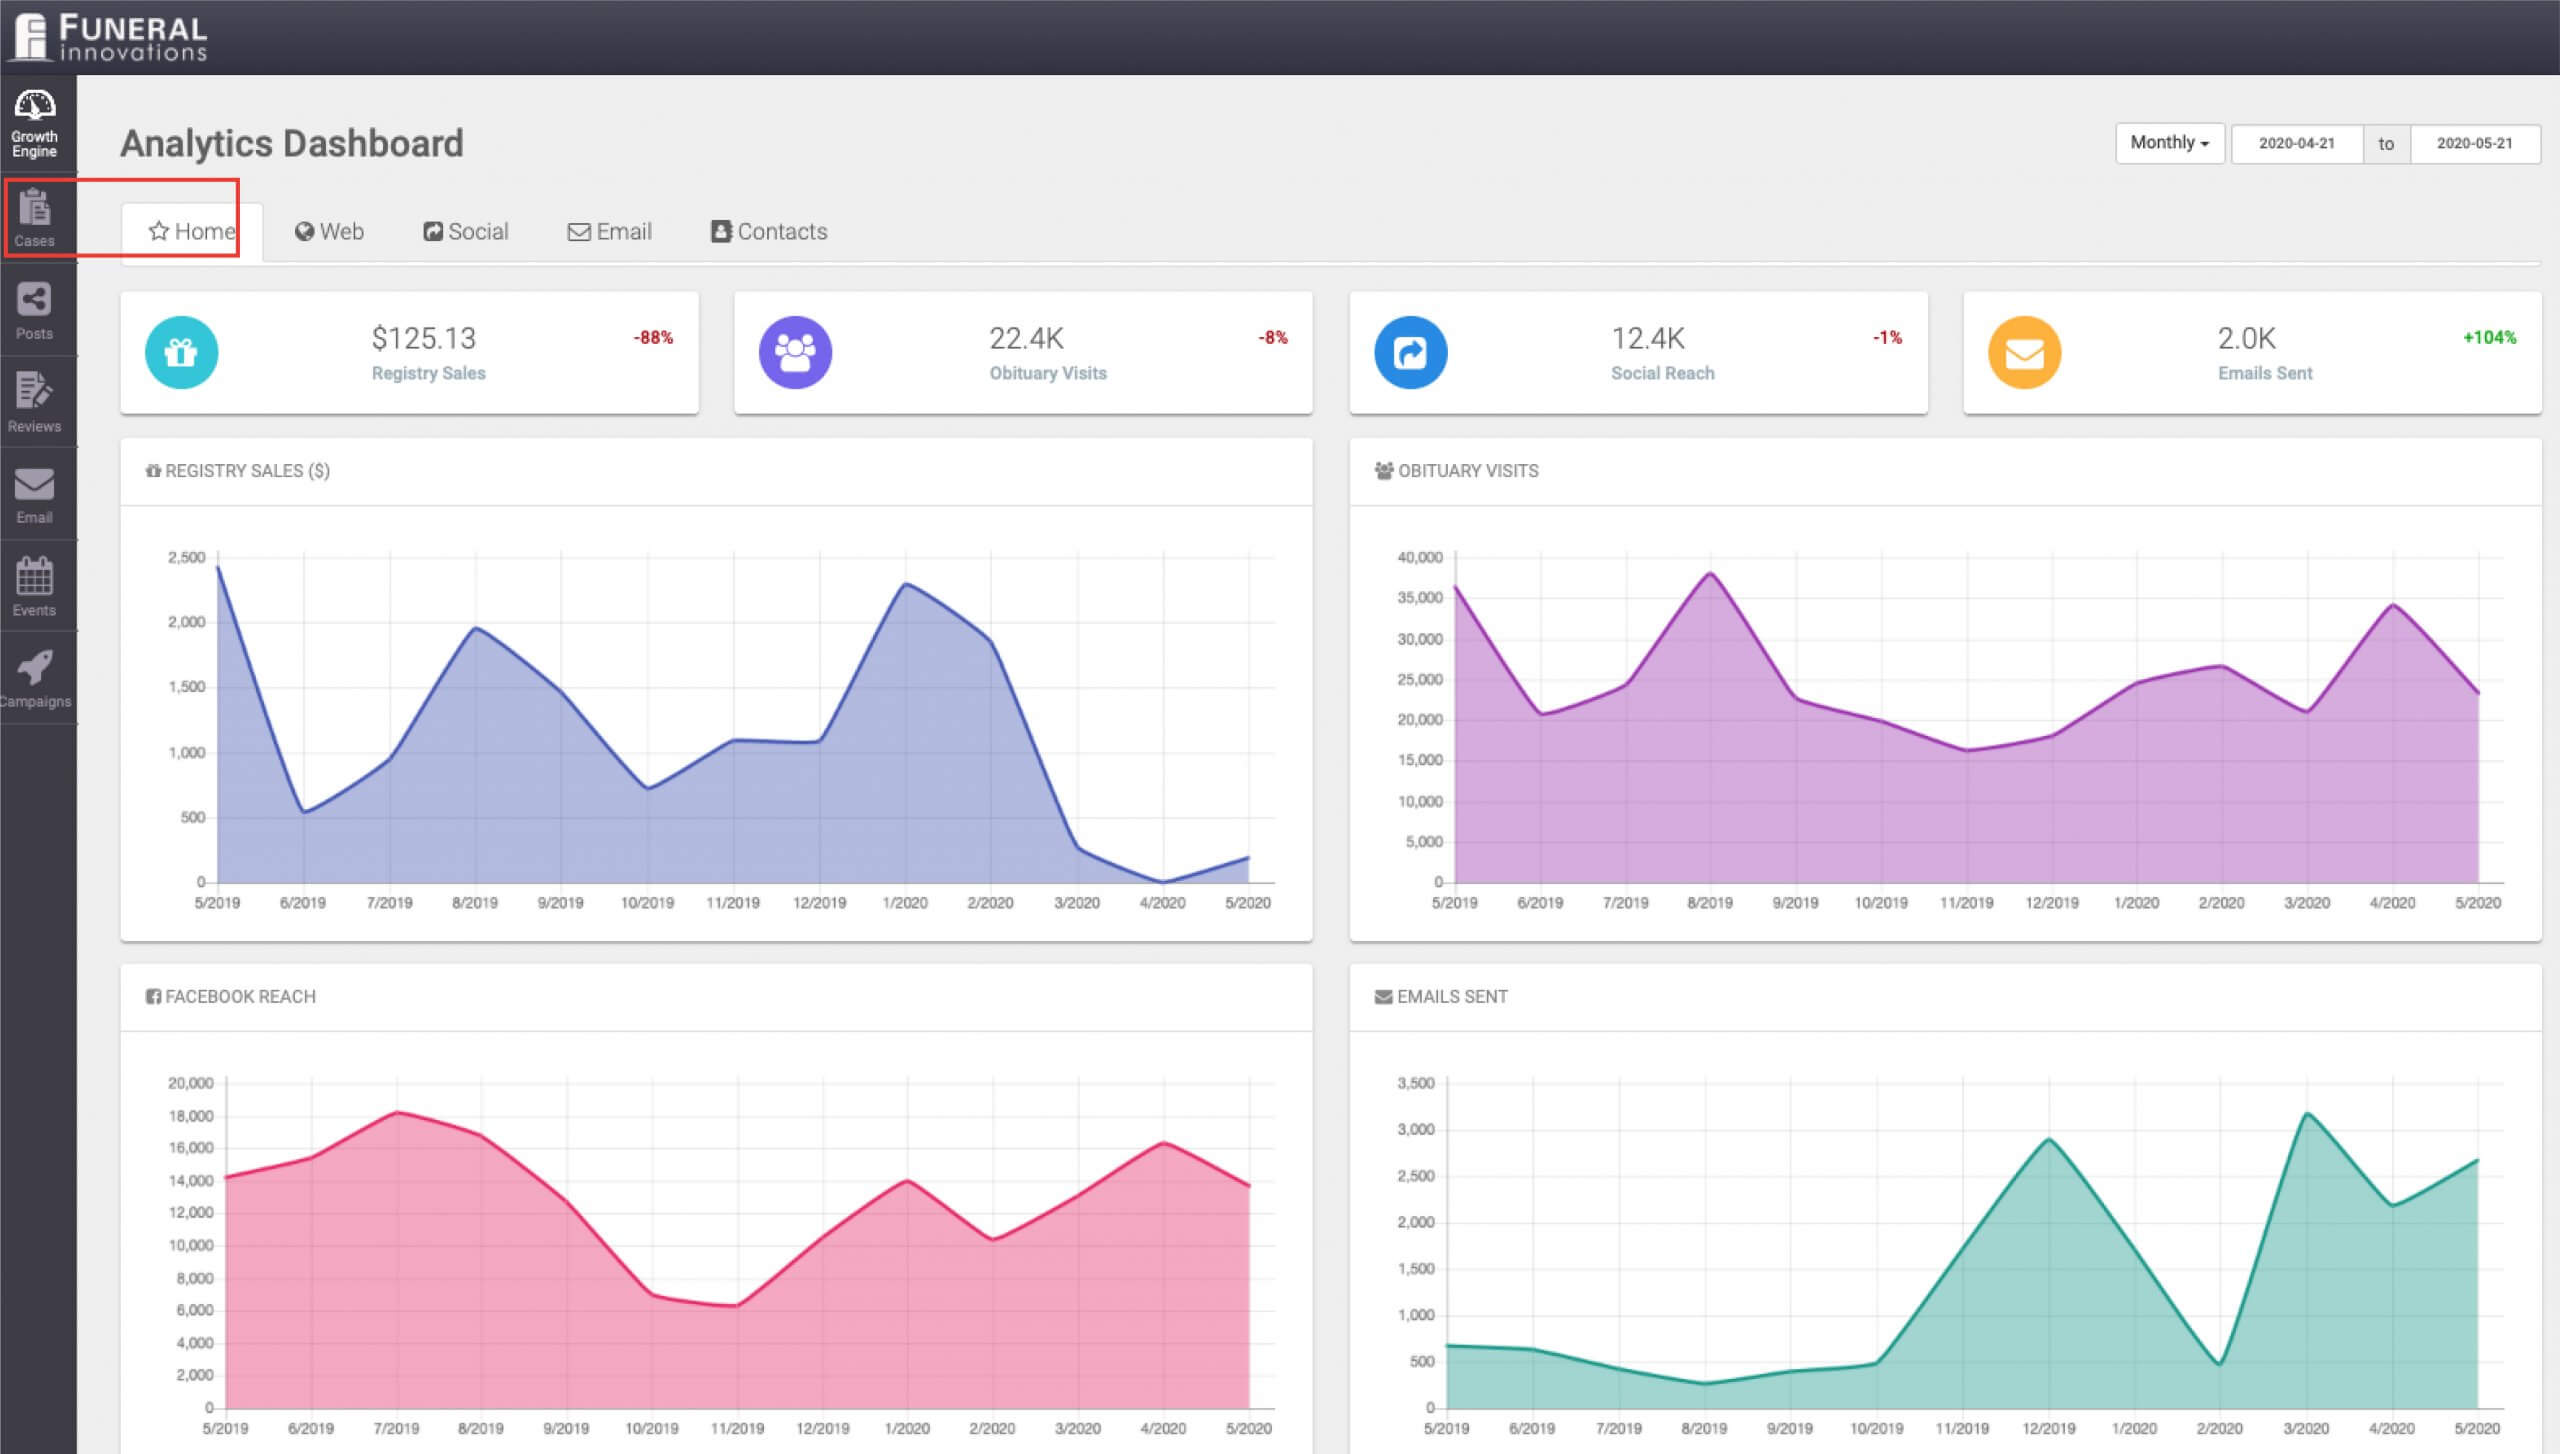
- On the left side of the dashboard, click Cases.
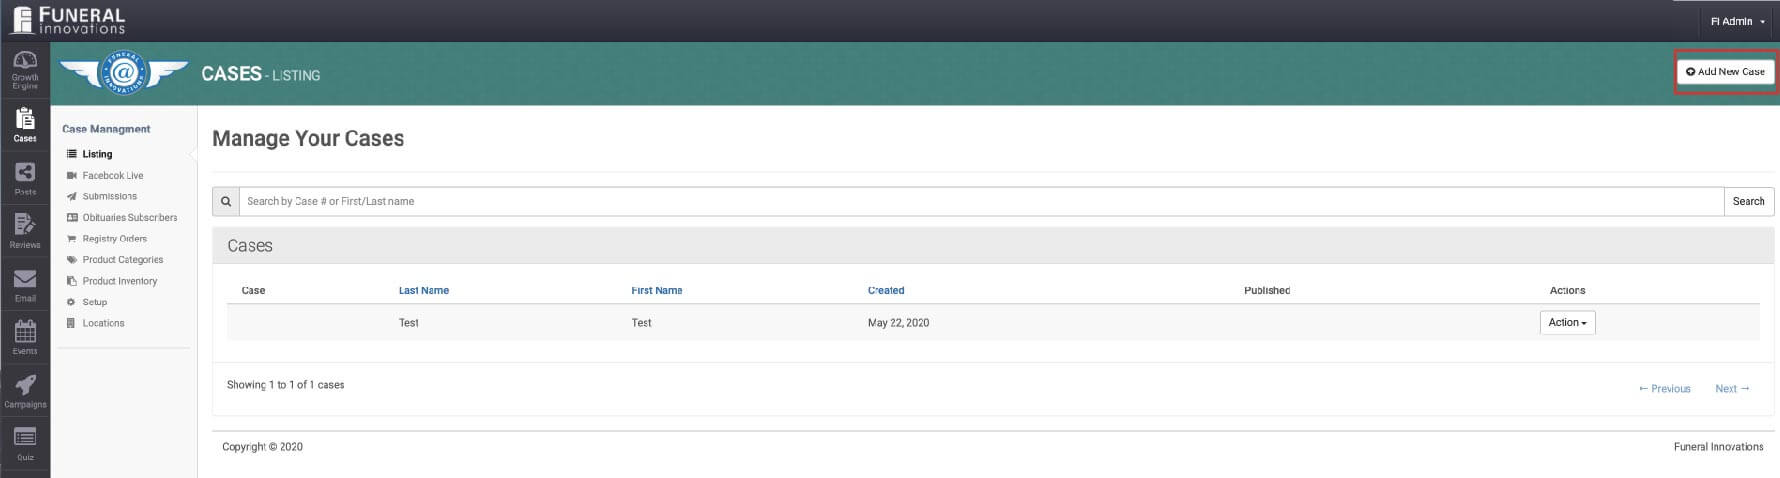
- At the top right, click Add New Case.
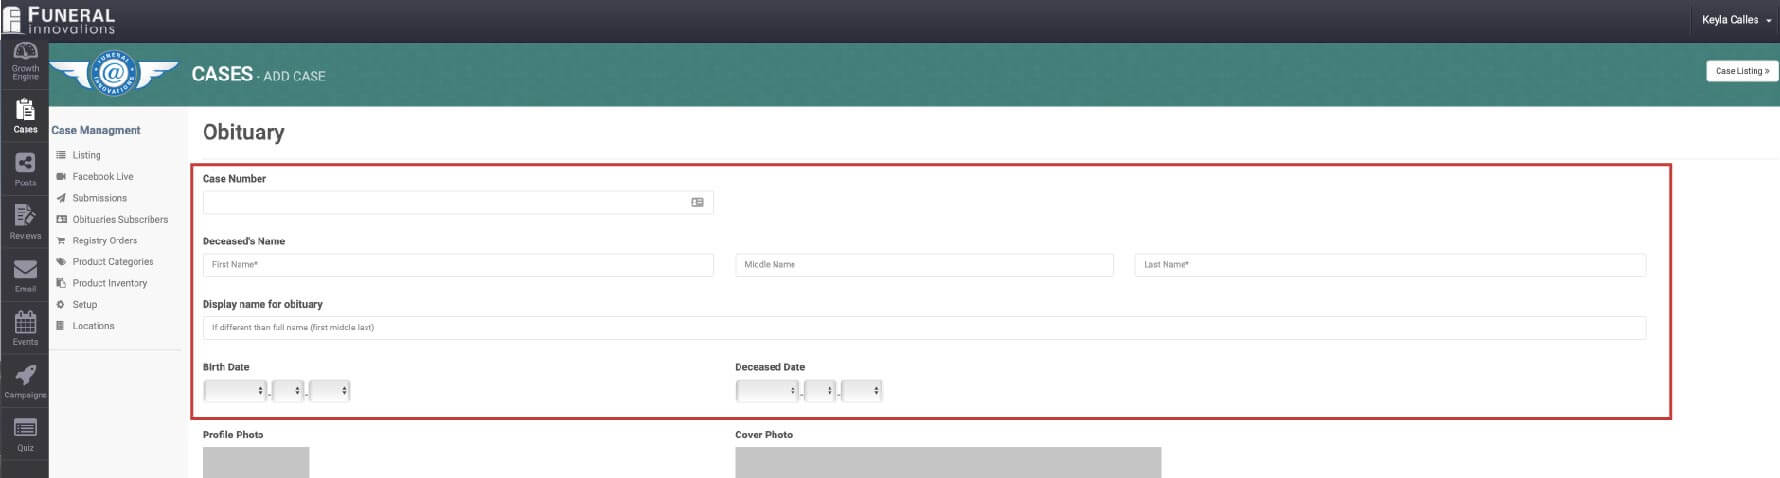
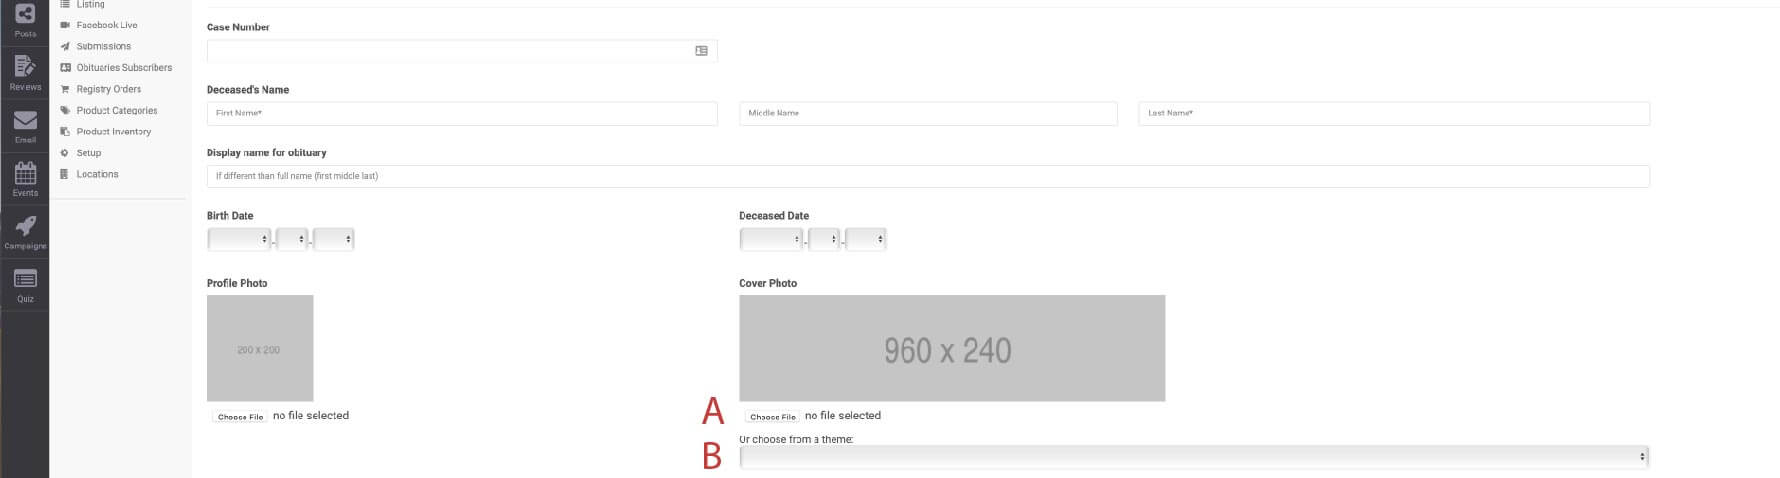
- Fill in the deceased information.
- Add a Profile Photo, by clicking Choose File and locate the image on your computer.
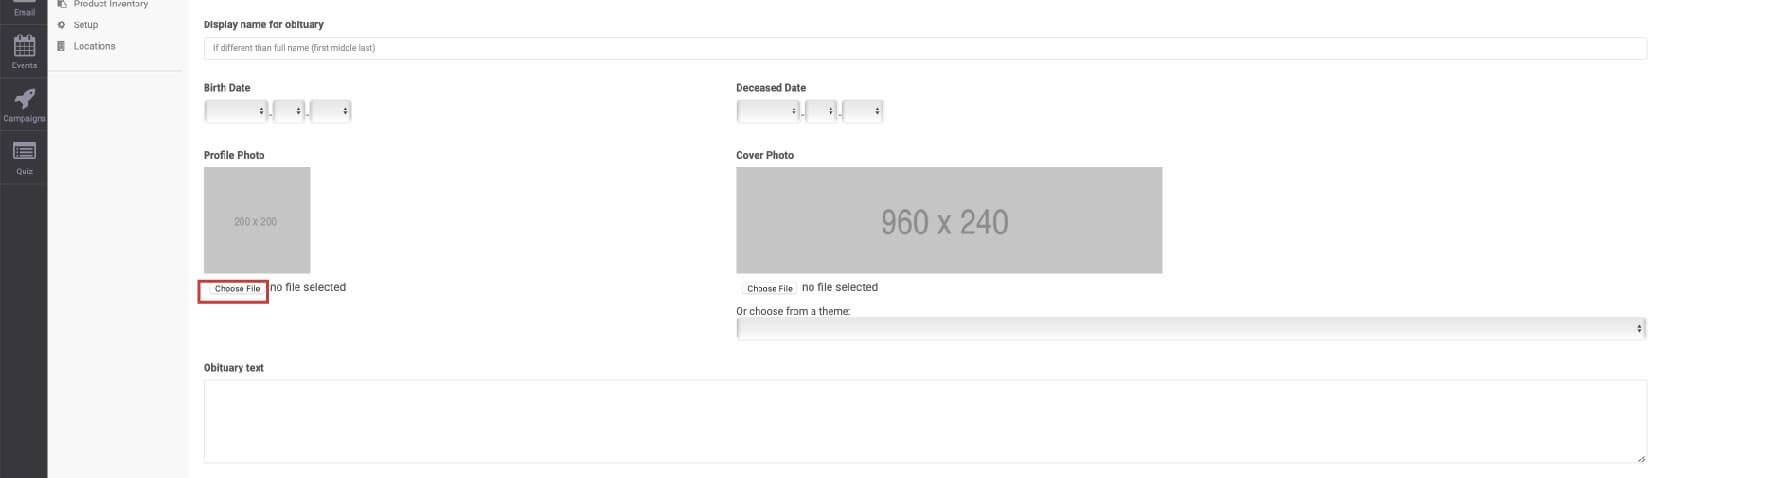
- Add your own Cover Photo (A) or choose a photo from our image library (B).
Note: You can either pick from pre-selected photos, or add your own. If you add your own, the image MUST BE 960px wide by 240px tall
- Add the obituary text.
- Select how you would like to publish the obituary.
Not Published: Choose this option if you would like to save without it going to your website.
Published to website: Choose this option if to place the death notice on your website, but not Facebook. Any changes you make later will be updated on the website.
Published to website and Facebook: Choose this option to publish the obituary to Facebook. Only choose this option if you have an obituary image, birth date, death date and partial obituary. Facebook will not auto-update if you make changes.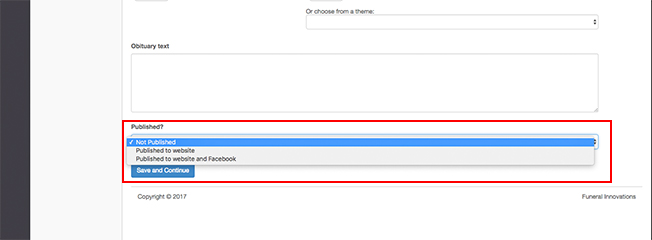
- Click Save and Continue to complete adding the obituary.
Important: It can take up to 10 minutes for the obituary to be shown on your website home page. It should show up immediately on your obituary listing page. If you see it on the obituary listing page, it will show up on the home page.
If you need to delete an obituary, you can click not published on the obituary and go back to cases and under Actions and choose the Delete option at the bottom.
