Editing an Obituary Photo
Many times, the obituary image a family provides doesn’t fit well on the website. It is either too long, too wide, or has other items within the image that the family would like removed. You have the ability to easily crop an obituary photo within the Growth Engine to achieve the perfect image every time.
Follow the steps below to edit an obituary photo:
- Go to https://funeralinnovations.com/users/login
- Login with the user and password
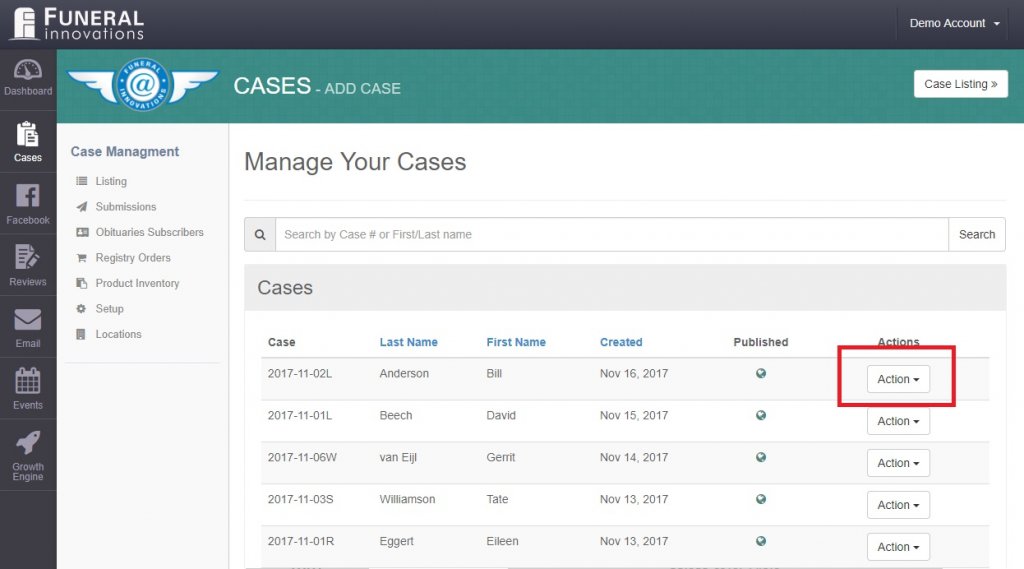
- On the left side of the dashboard, click Cases.

- Click Action on the case that you would like to edit the obituary photo for.
Note: If you are adding a new obituary, move to step 6.
- Click View/Edit to open the case.

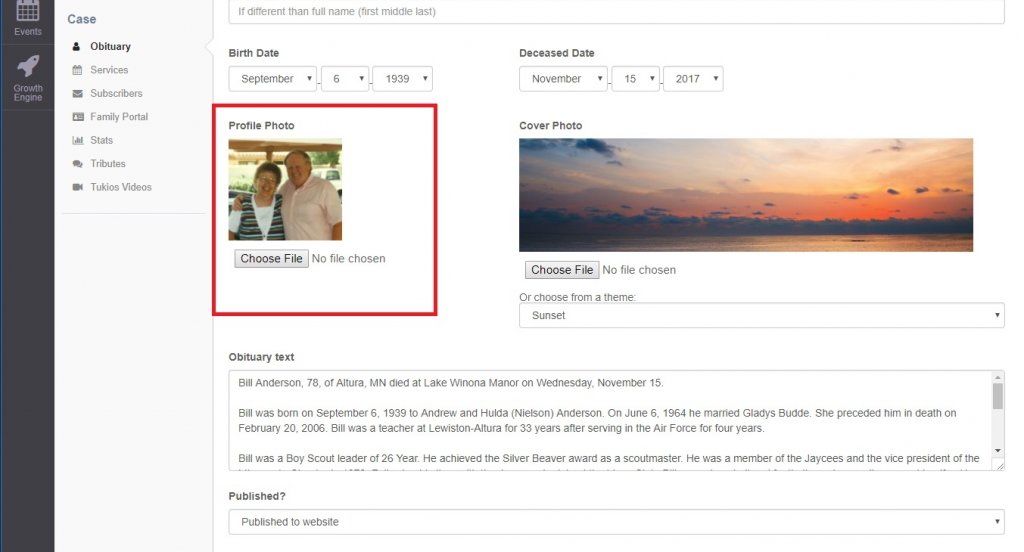
- Scroll to the Profile Photo section and click on the obituary image.
- A photo editor will be displayed. Make the desired changes to the image and click Save Image.
The available options to edit the image are (from left to right):
Crop Image: This tool allows you to resize the image.
Rotate Left: Move the image orientation to the left.
Rotate Right: Move the image orientation to the right.
Reset: Remove any changes you have made.
Re-Upload: Change the image shown.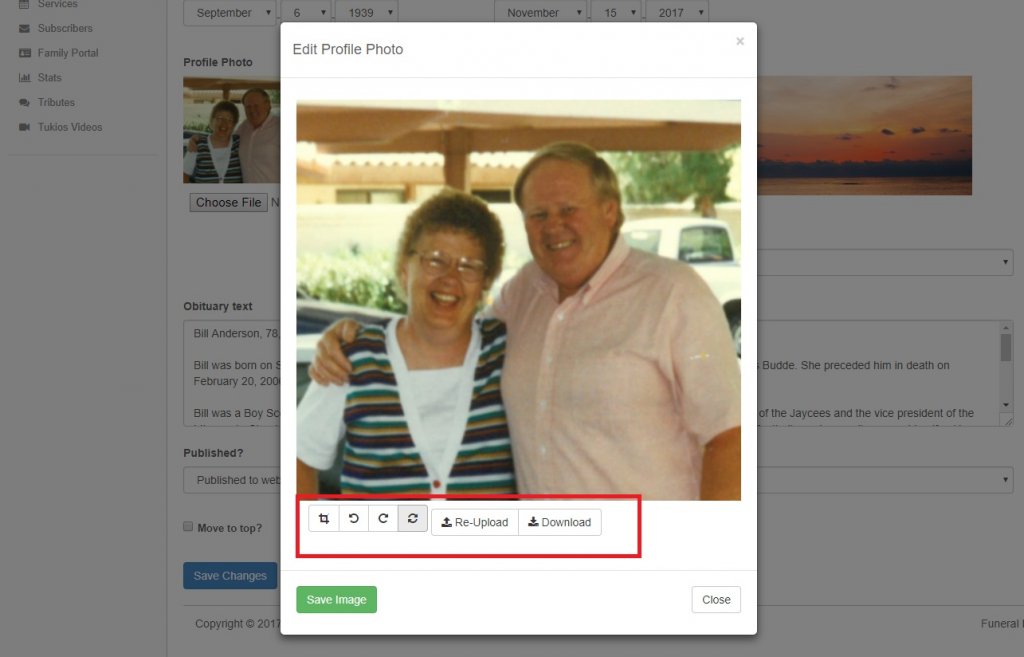
- Click Save Changes to have the obituary image changes shown on the website.
Note: It can take up to 10 minutes for the change to be shown on the home page of your website. However, the change should show immediately on the obituary page. If the change looks fine on the obituary page, it will be reflected correctly on the home page.