Adding an Event
The Event Promoter is your personal PR agent! With just a few clicks, your event can be promoted to 1,000’s of people in your community.
Below are the steps to schedule an Event:
- Go to https://funeralinnovations.com/users/login
- Login with your user name and password
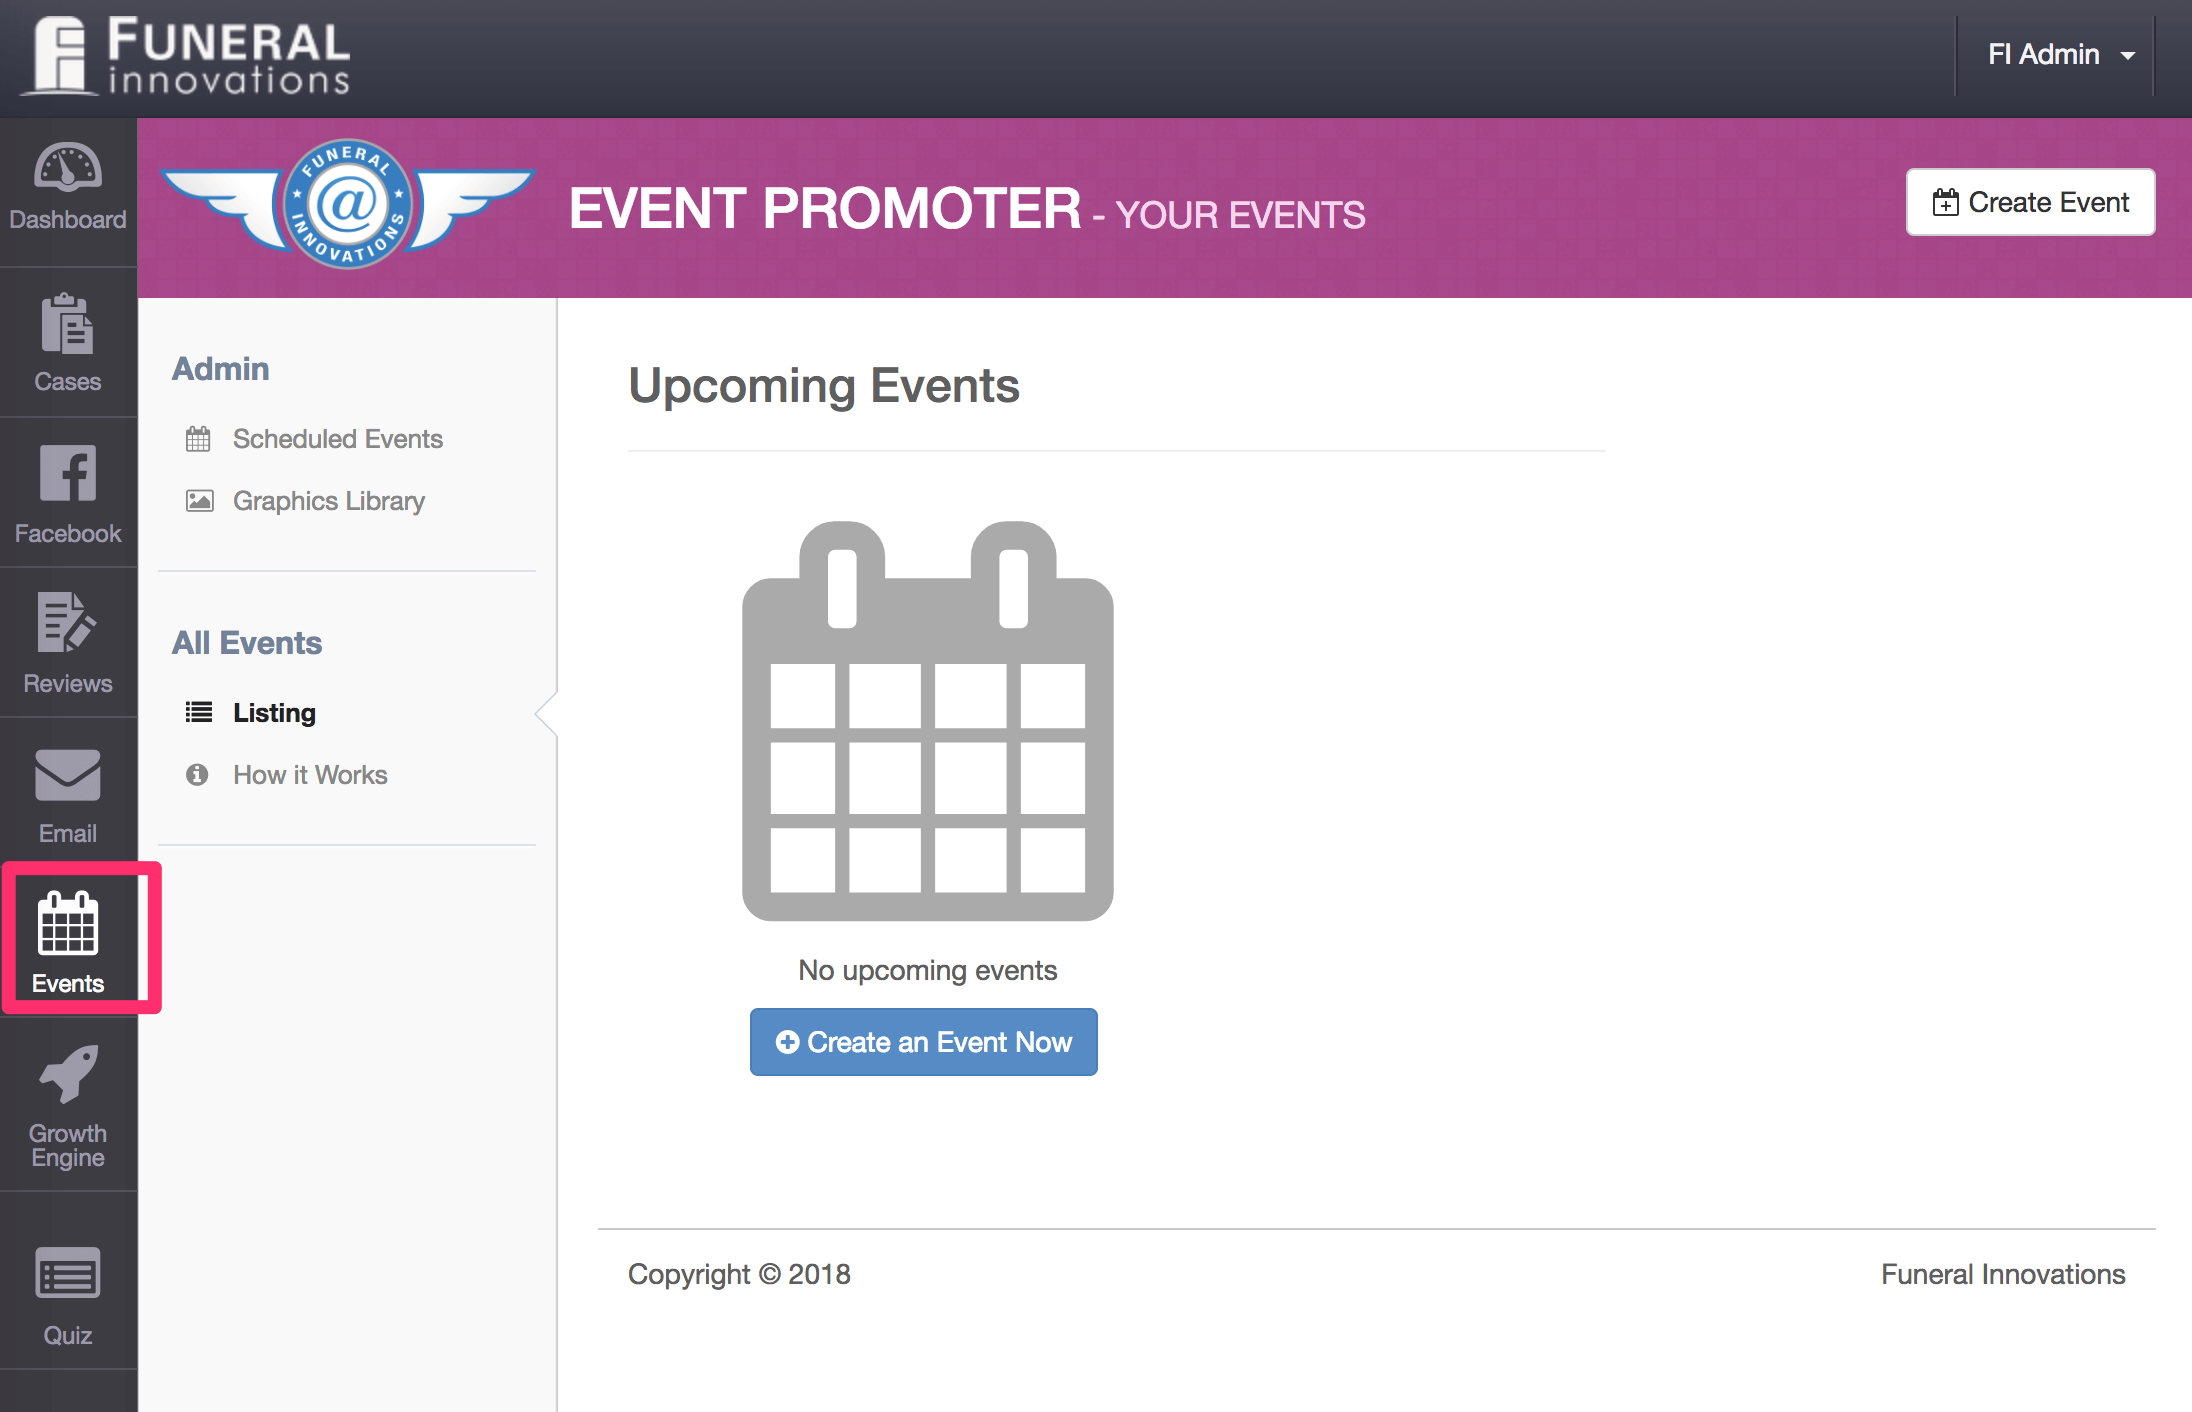
- Once logged in, click Events down the menu on the left.
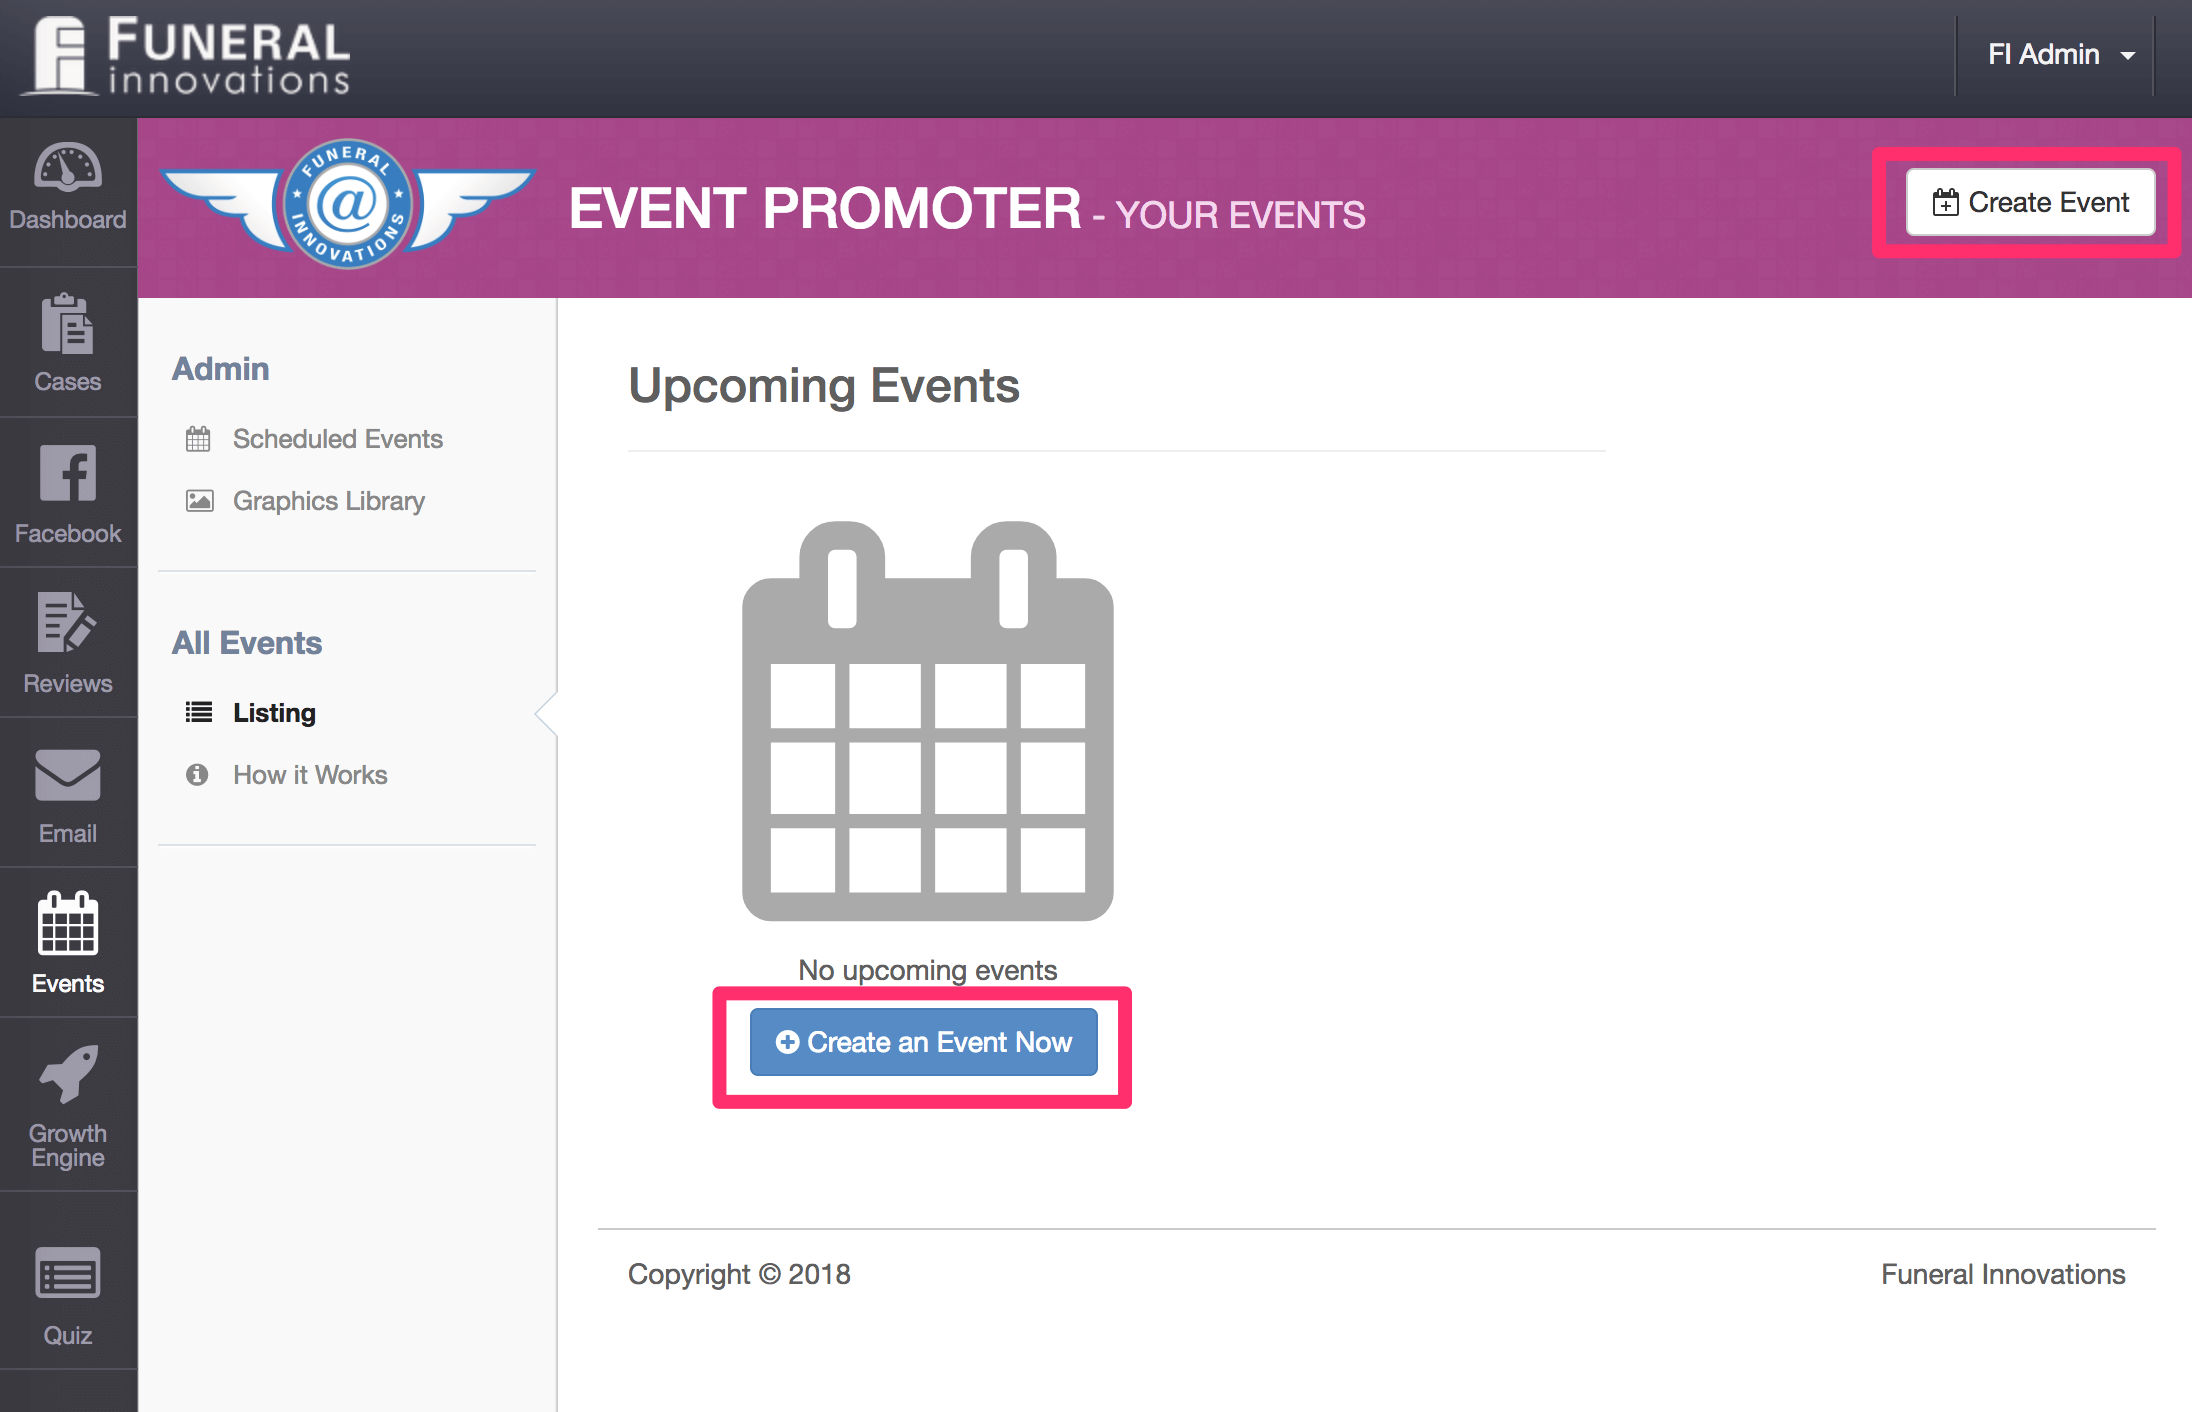
- Click Create an Event or Create Event from the top right section of the page.
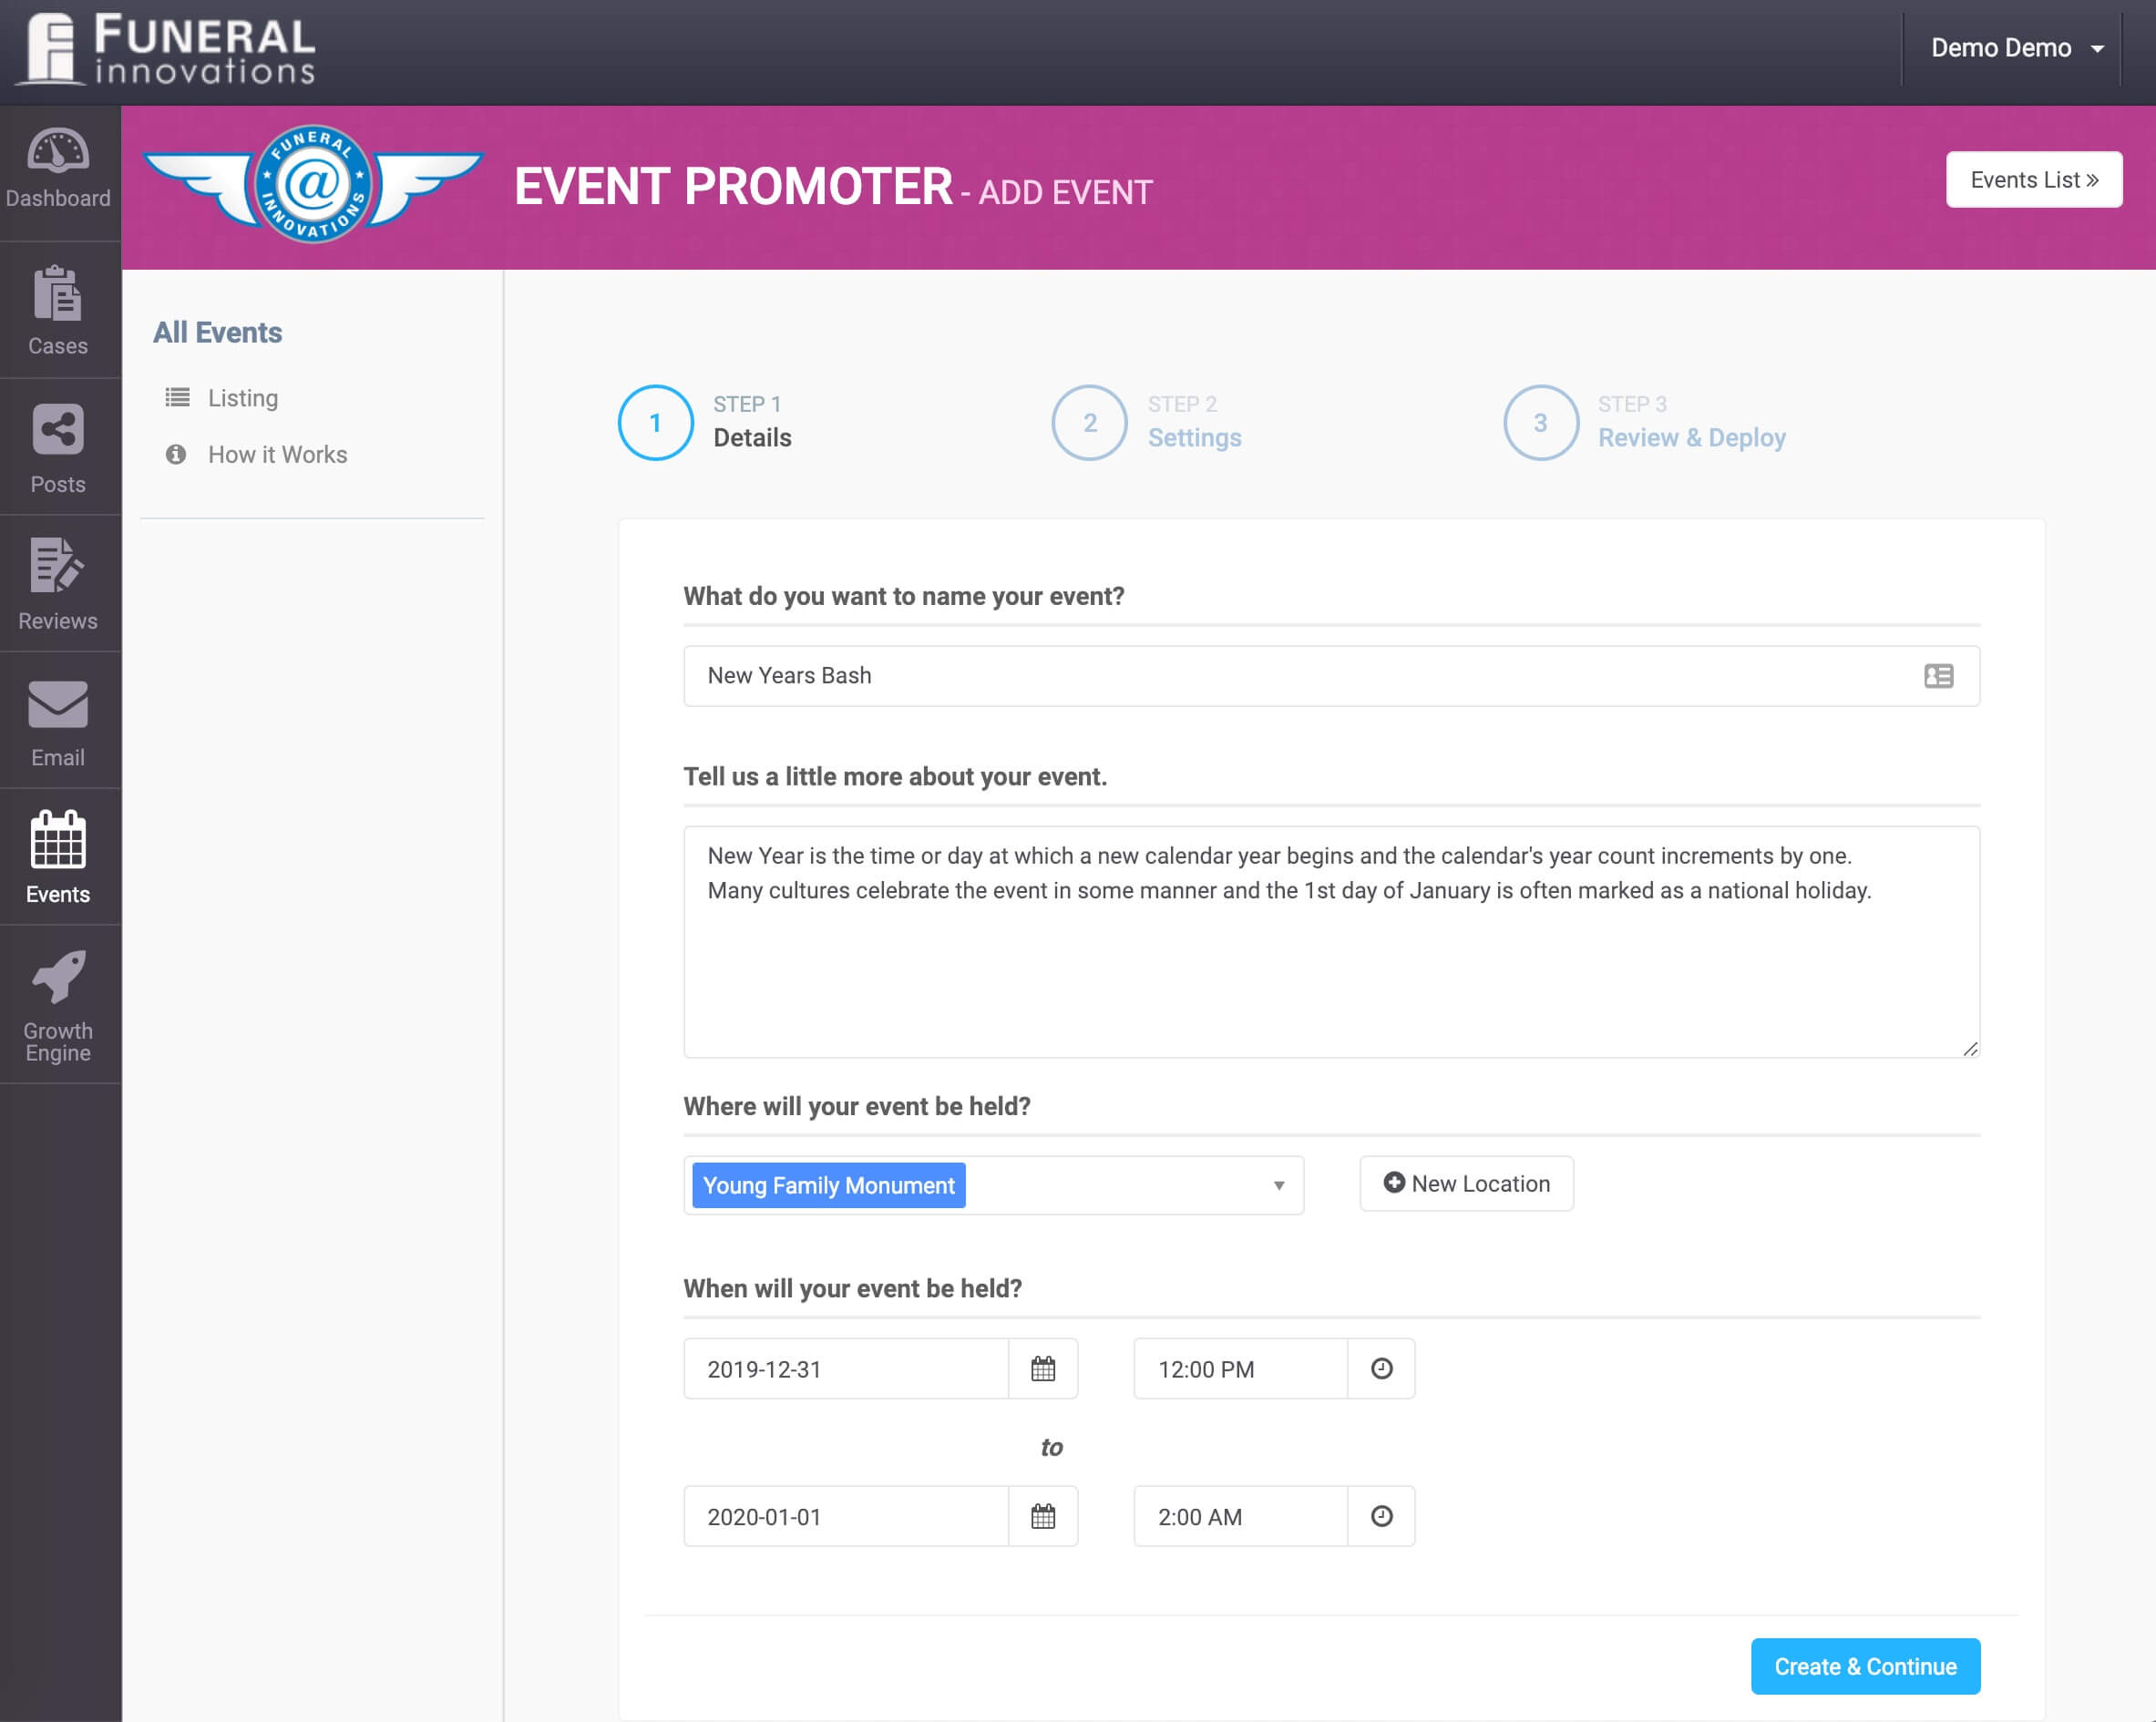
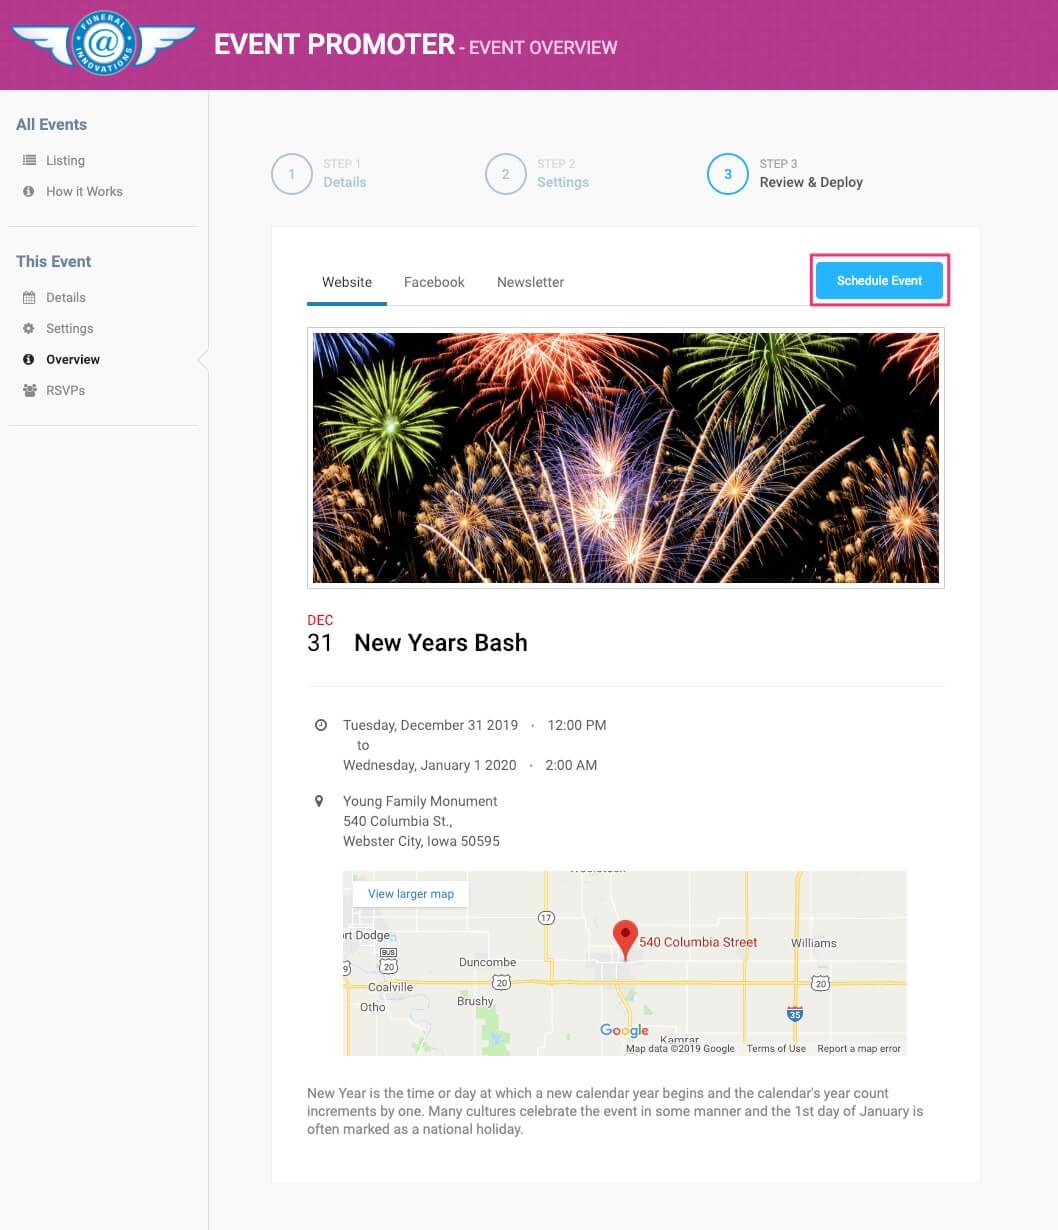
- Fill out the basic information about your event, including the name, date and time, location and description.
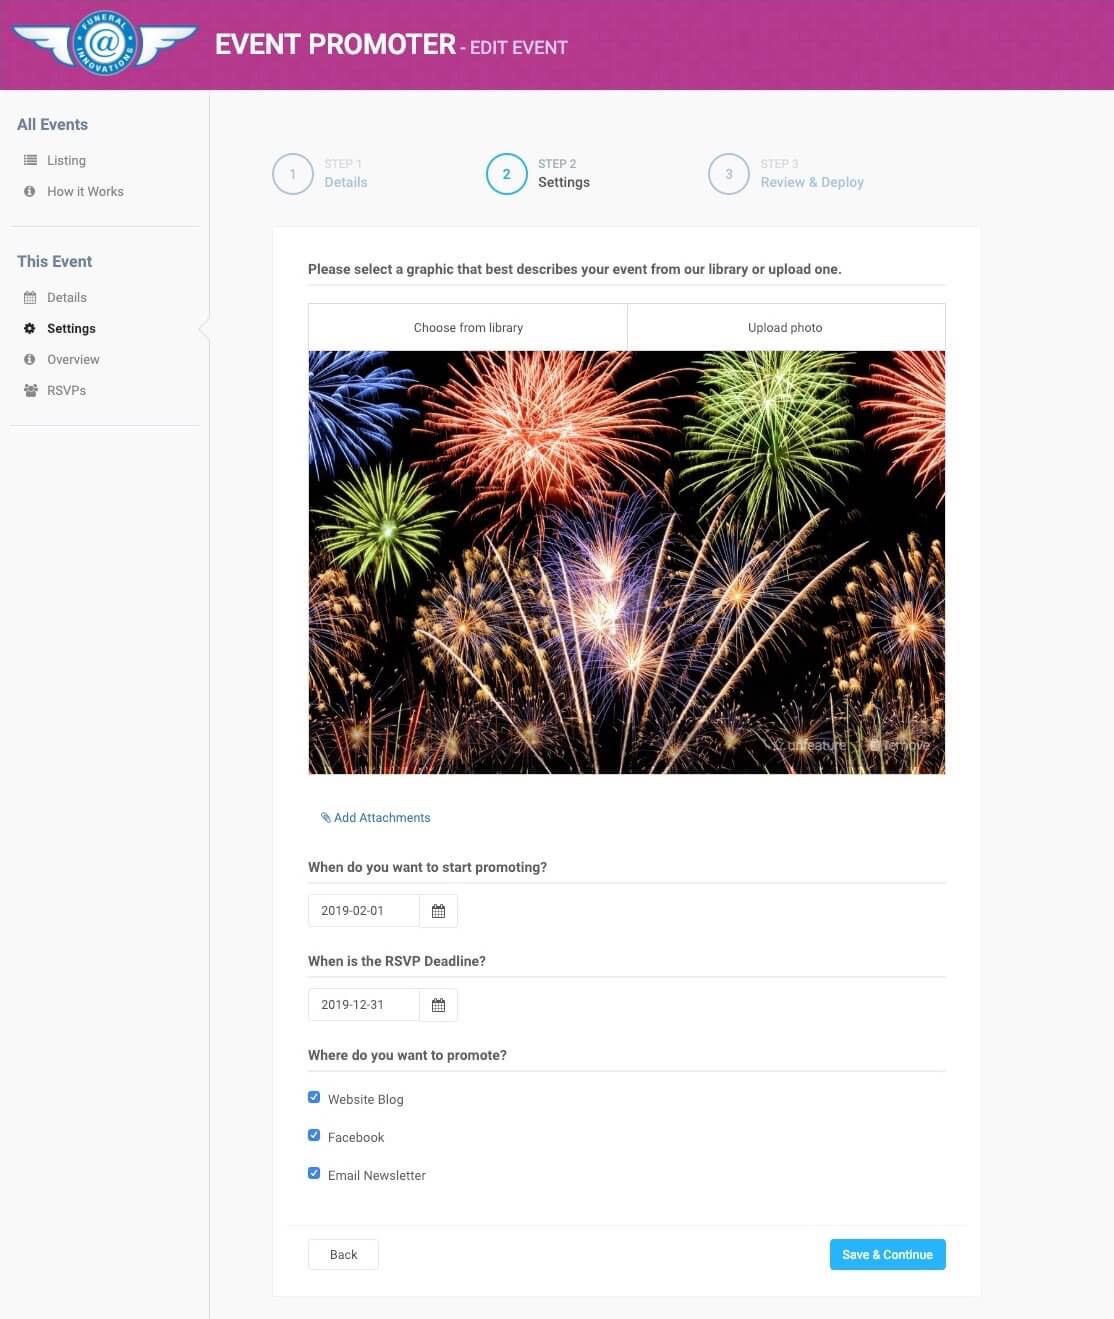
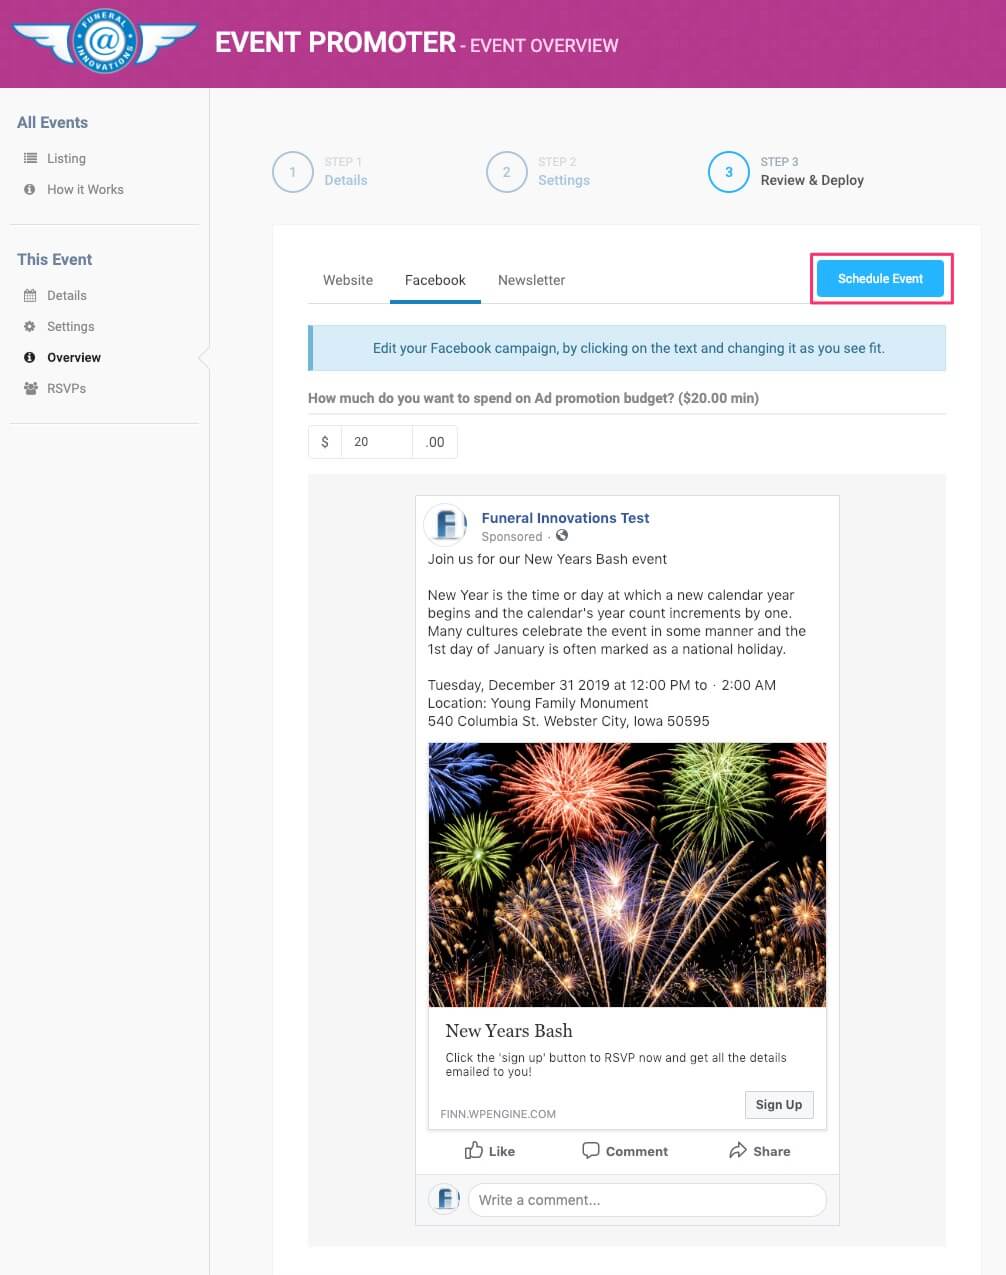
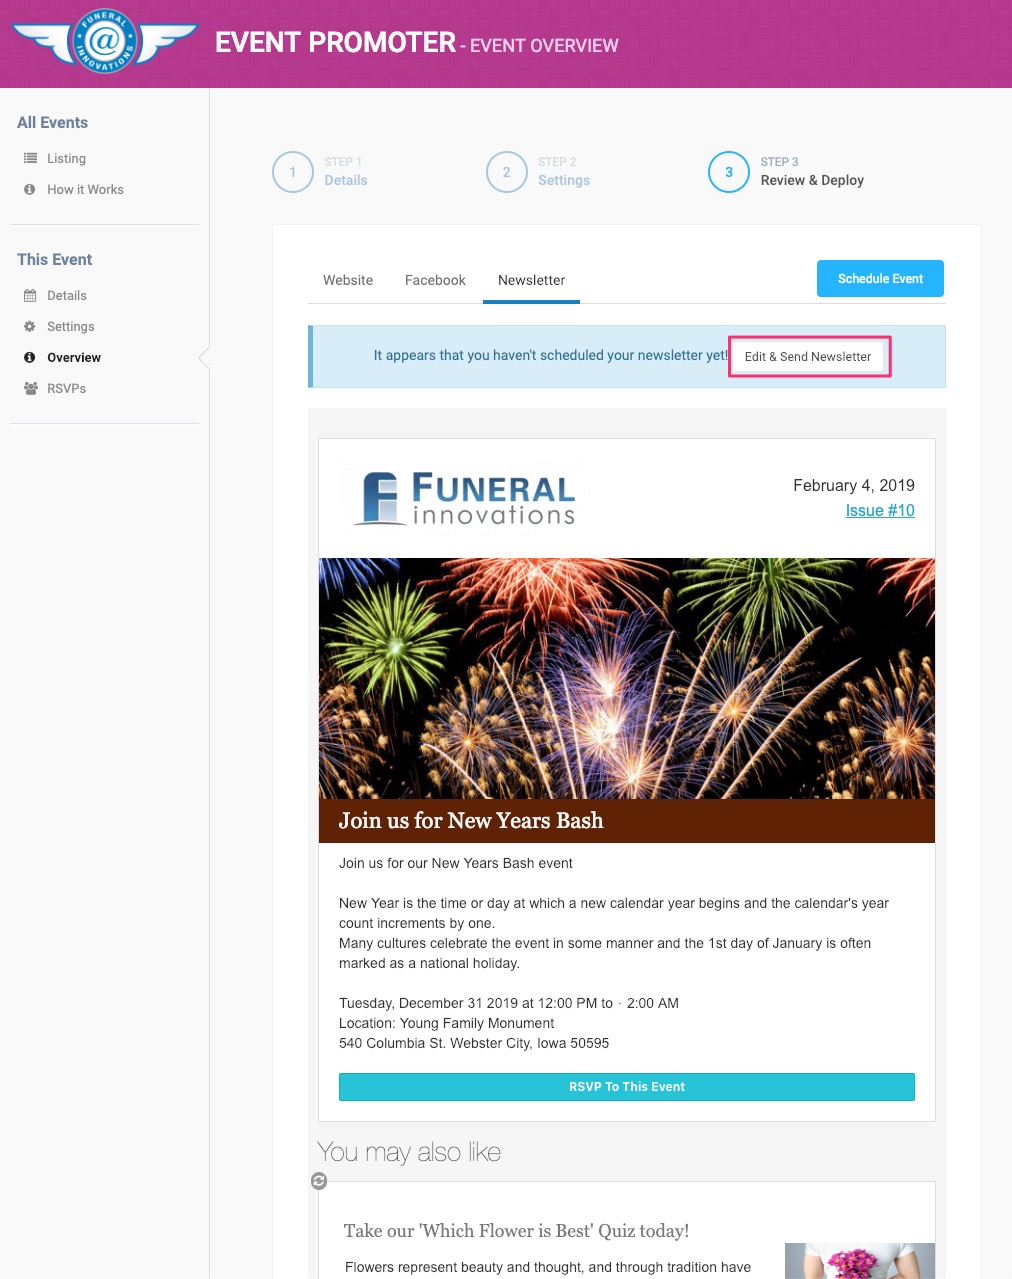
- Add a relevant feature image and pick how you’d like your event promoted, such as your website, Facebook or newsletter.
- Review your promotion channels and schedule the event. We’ll take over and do the rest!
- Website – Automatically publish your event to your website including all relevant information, photos, maps and a calendar signup.
- Facebook – We’ll post your event to Facebook and boost it to right people, including your fans, folks in your community & even website visitors!
- Newsletter – Promote your event right in your community’s inboxes: Access and edit your event newsletter campaign in a single click! No mailing list yet? We’ll help you grow it!
- Website – Automatically publish your event to your website including all relevant information, photos, maps and a calendar signup.
- You’ll get an email notifying you when the event is promoted to each channel, and you can monitor the results.